I will share with you one “trick”. It requires a bit of work initially to set up everything, but it pays of at the end. At least if you want to have EXIF info on your photos.
NOTE: This only works in Lightroom Classic.
This setup will be done on MacOS, but the same principles apply to Windows PCs as well.
Here is the photo on which we are going to add missing lens info.
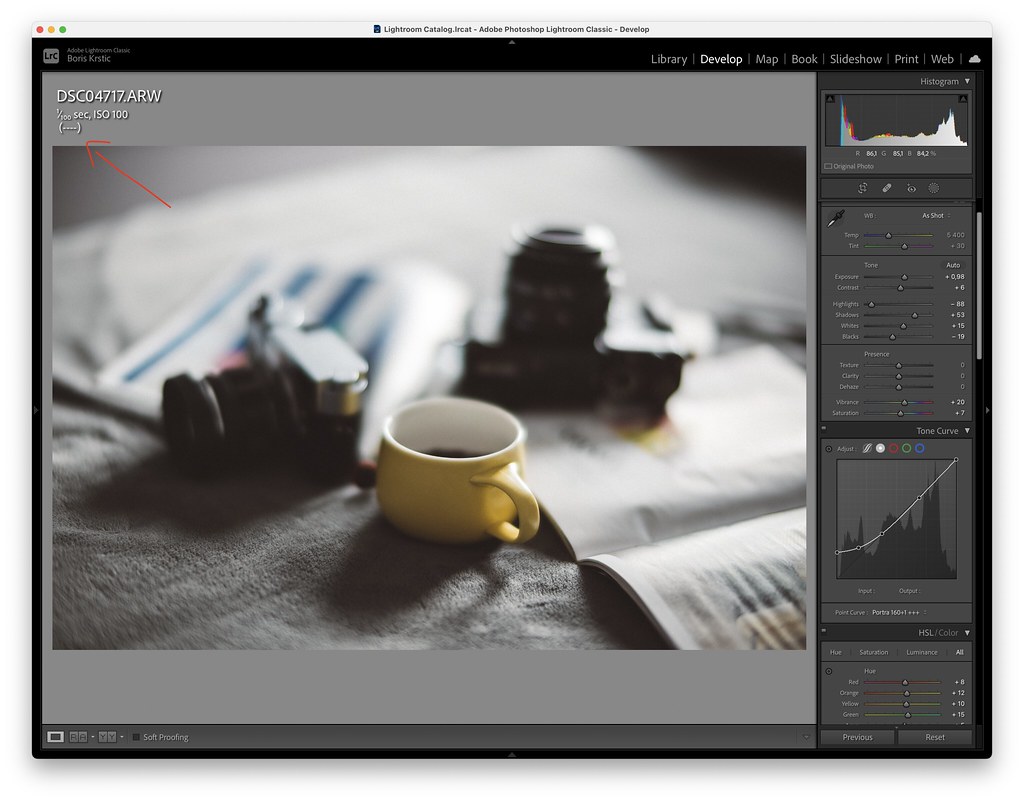 Arrow is pointing to the missing information from the lens
First thing you need to do is to navigate and download LensTagger Plug-in from the LensTagger website. At the time of writing this, exifinfo tool comes bundled with LensTagger (version 1.9.0 and newer), so you don’t need to install it separately.
Next step is to install the plugin. Follow the steps bellow.
 In Lightroom, navigate to File - Plug-In Manager
 Navigate to File - Plug-In Manager
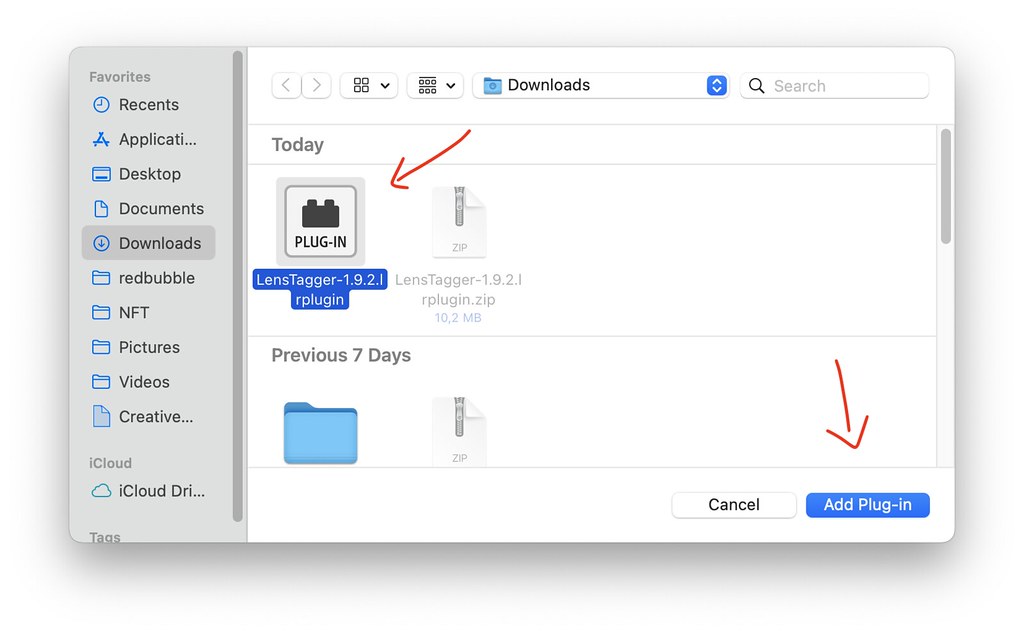 Unzip the file after downloading, select it and click on Add Plug-in
Now comes the fun part, using the Plug-in.
 Navigate to File - Plug-in Extras - LensTagger
Remember to save metadata for the photo you are editing first! Really important as running the script will overwrite your current edits otherwise.
 If you have edited an image before using the Plug-in, remember to save existing metadata
Now the new window appears where you need to enter information about the gear you used. Read all the steps below.

Quick explanation:
- Enter lens name
- Enter lens focal length
- Enter lens widest aperture
- Enter the focal length equivalent in 35mm format (full frame)
- Enter the used (actual) F-Stop / Aperture
- Useful if you are using many different manual lenses, I recommend saving the preset for every lens so you don’t need enter the same info every single time
- Remember to save the preset after entering a name for it
- Click to update the command which will add info to your photo
- If you need to add info for a different lens, click to load a preset for that lens and do the step 8 once again and jump to step 10
- Run the actual command which embeds the information you provided.
Voilà! You can now see the lens information
 EXIF now shows correct lens information
I like doing this on my photos for various reasons. At the same time it is nice to have everything organized. You can even use some light script (requires some programming) to run through all your images and place them in specific folders based on the lens name.
As I am using Flickr to store all my images (and show them on here on the blog), I can also create separate albums for all of my lenses. I like seeing the full info on my images when I scroll through the Flickr (see example below).
 Link to the photo on my Flickr